As promised in my previous article about showing you how to set up a Style Guide in Frontify, here is the second article in the series to set up the next design element – Typography.
Before you set about creating your style guide, you need to ensure you have selected your fonts. Here are a couple of my previous articles that can help you choose your fonts.
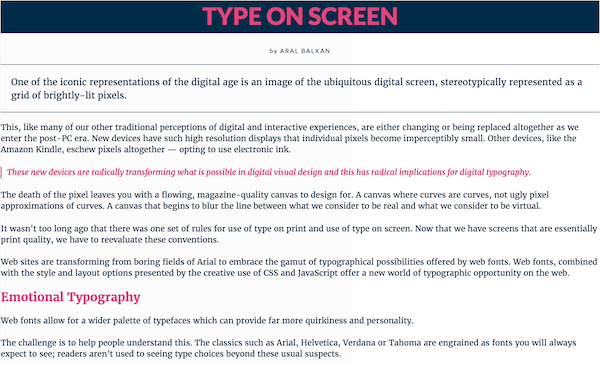
In my case, I have chosen two fonts – Lato (a sans-serif font for the headings) and Merriweather (a serif font for the content). Here is a sample I created on Typecast.

You can set up your Typography in Frontify Style Guide in a matter of minutes.
Step #1 Add your Fonts
In Frontify Style Guide, you can add fonts from Google, Typekit or Fontdeck. Alternative you can choose System fonts or upload your fonts. Frontify will automatically display all the variations of the fonts (i.e. font styles and font weights). You can delete the ones you don’t need. This video will show you how I added the two Google fonts I choose for the website.
Step #2 Add Font Styles
Using Frontify Style Guide, you can also add your font styles in a fun and thought-provoking way. First, you create font styles for the various text styles in your website e.g. heading, subheading, paragraph, quote, etc. Then you define the font, font style, font weight, font size, line height and background and text colours. You can immediately see what the style would look like as well.So here goes a video:
It’s a lot more fun to show this to you in a video. So here it is:
Step #3 Add Fonts for Download
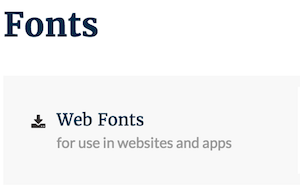
Just like how Colour Swatches can be included, fonts can be included for download as well. For this select Font Kit under Packages. It will appear as shown in this image and developers or clients can download the fonts just by clicking the icon.

You can read all the articles in this series about setting up a Style Guide using Frontify by going here.
If you are doing something similar to this, please do get in touch. Let’s band up together and share our thoughts and inspiration. ?
 Sony Simon Live. Love. Learn.
